Learn how to upload files in Salesforce using Data Loader with our comprehensive guide.
Data Loader simplifies the time-consuming process of manually associating files to records. It automates and streamlines the task, saving valuable time. Optimize your workflow by leveraging Data Loader for efficient file association.
To upload a file and associate it with any object record, follow the steps outlined below
Step 1: Create a CSV file with the below-mentioned columns
Title - file name (The name of the file which users can see in the Files related list once it is uploaded)
VersionData - complete path to the
file you're uploading from your local machine. Example: C:\Users\Naveen\Documents\InvoiceDoc.jpg
PathOnClient - complete path to the file
you're uploading from your local machine
FirstPublishLocationId - Id of the Salesforce object record to which the file gets associated. In this demo, the PDF file is mapped to the Account record, so we mention the Account record ID.
If the file association is not required with any record, ignore adding this field to the CSV.
Screenshot for reference
Make sure you convert the file to CSV if you have created the file in any other format.
Step 2: Upload the CSV in the Data Loader
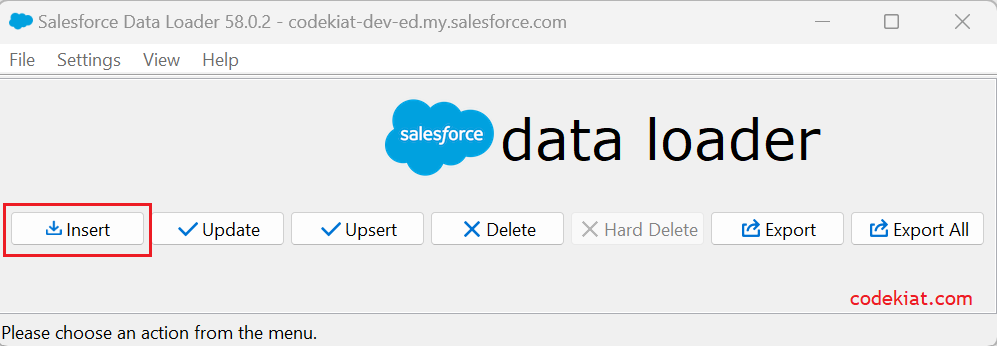
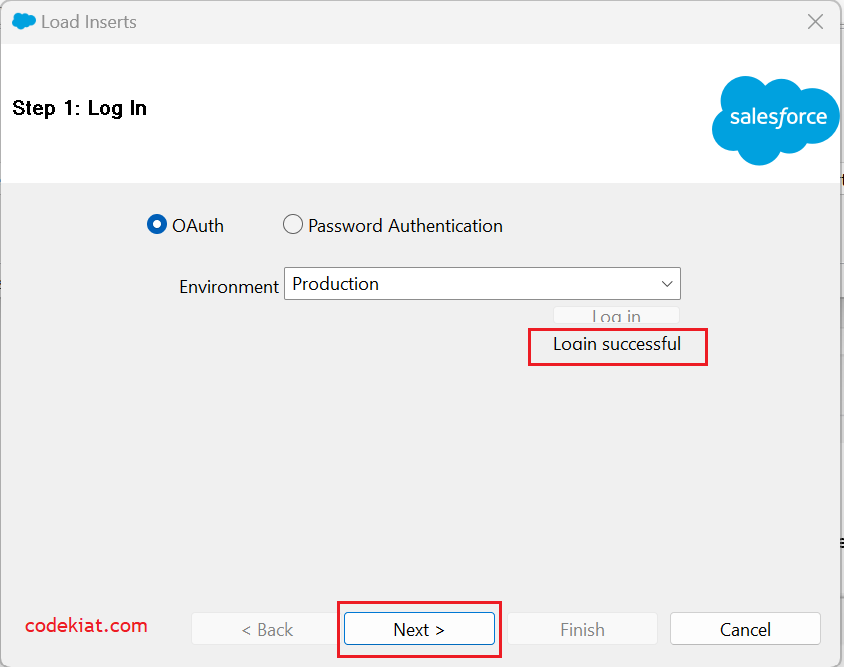
Open the Data Loader > Click the Insert button
The Environment picklist value is set as Production for Prod instances and Developer orgs, and Sandbox for all other Sandboxes
Select Show all Salesforce objects check box (1), Search with
contentversion in the search box (2), click Content Version object (3), click
Browse and select a new CSV document created in the previous step (4), click
Next (5)
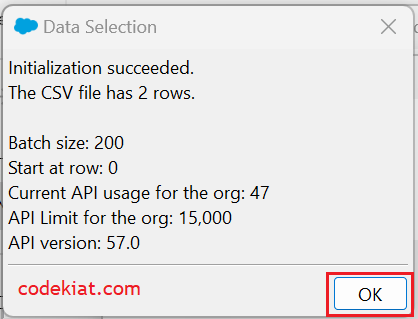
Click the OK button in the popup
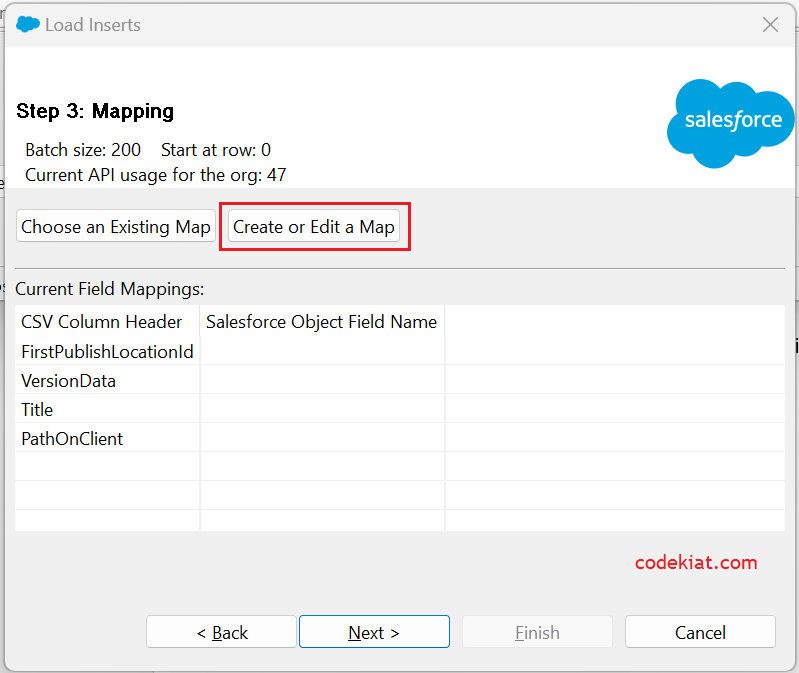
Click Create or Edit a Map button
Click Auto-Match Fields to Columns button
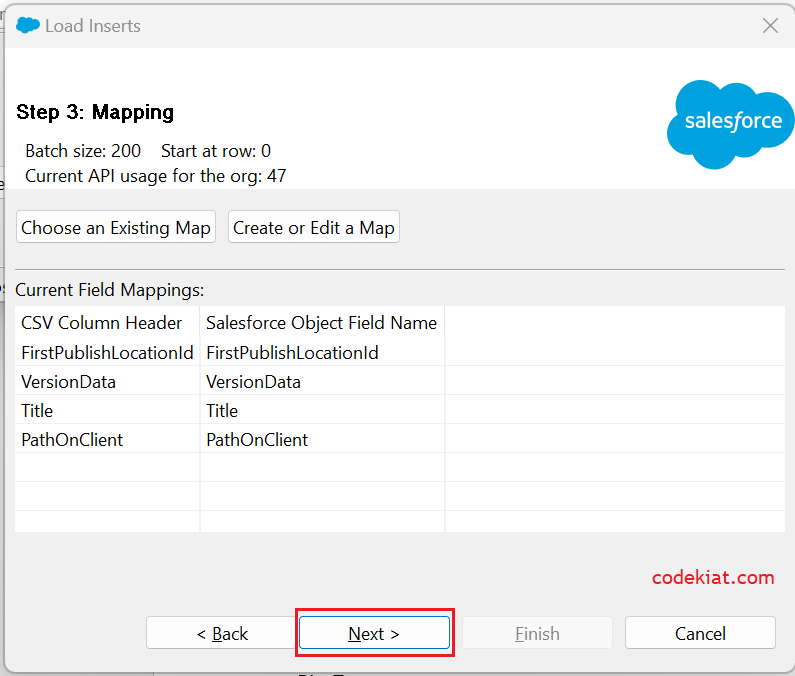
Fields are auto-mapped in the below section
In some cases, the Title field is not auto-mapped to the Salesforce object field name.
In that case, search for the field - Title in the top section, Drag the field and drop it on the Title field in the bottom section and click OK
Make sure that the Column names mentioned in the csv file should match with the Salesforce object field name in the Data loader for successful data creation.
Click Next
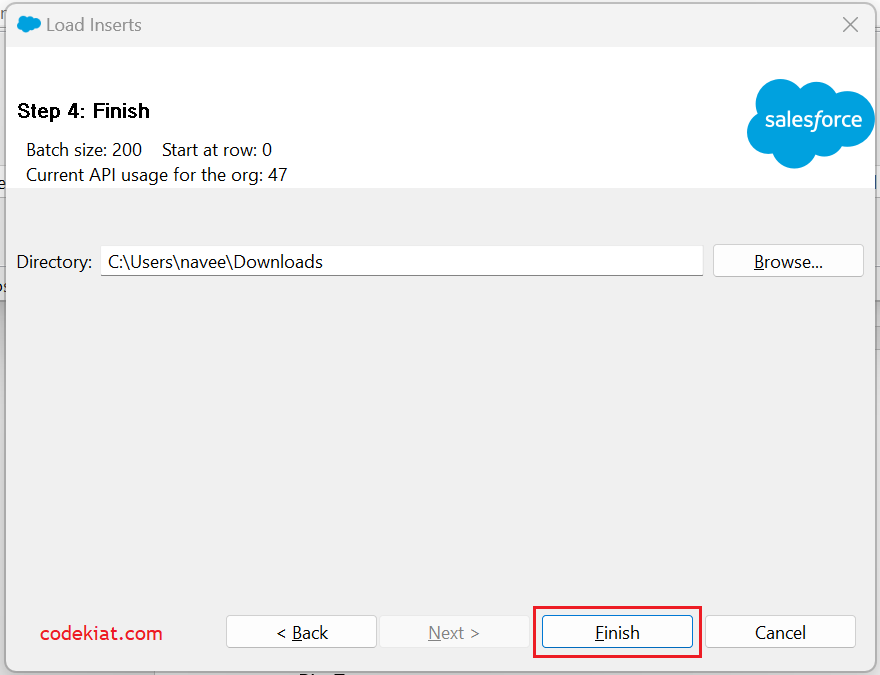
Choose the directory to capture success and error logs of the insert operation, click Finish
Click Yes button
The operation has been completed successfully.
If there is any error, verify the details from the error log file created in the directory selected above. Fix it and re-upload the CSV.
Results
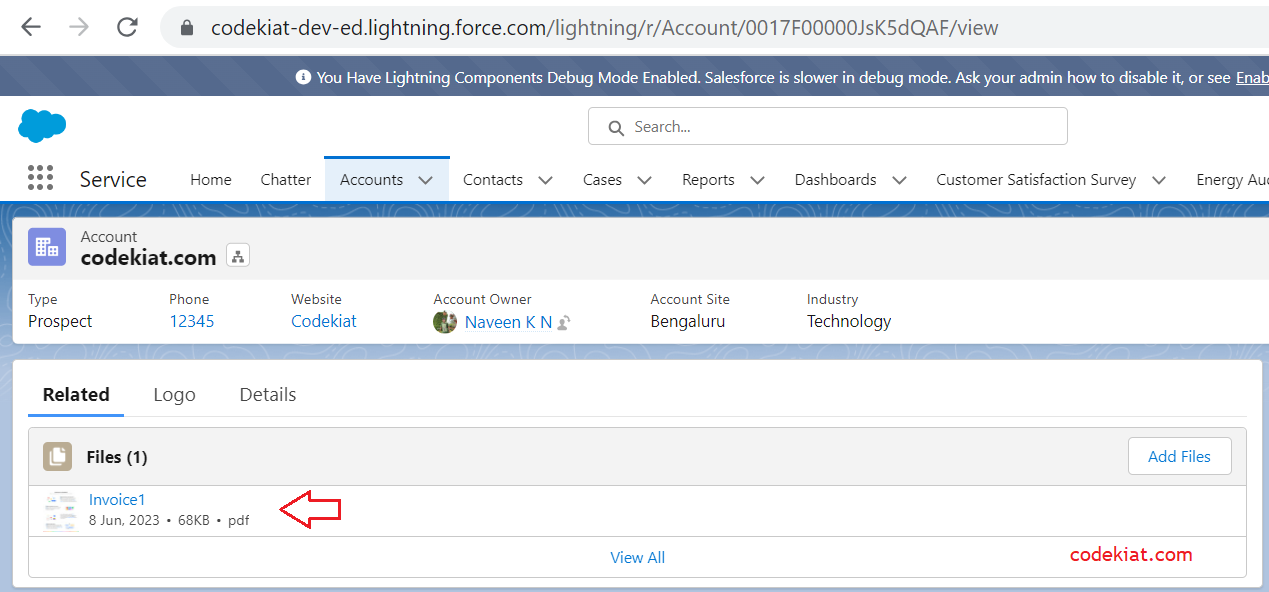
Verify the file mapping in the Salesforce instance.
Account 1
It is crucial to know in which object the file is stored and how the association between it and the account record is established. More details below
The ContentDocument object represents a file or document. It contains metadata about the file, including its title, description, file type, owner, and other details.
The ContentVersion object represents a specific version of a file or document. It is associated with a single ContentDocument and contains the actual content of the file, such as the binary data. Each ContentVersion is assigned a unique ID to manage different iterations or variations of a file.
The ContentDocumentLink object establishes the link or association between a document and a record in Salesforce.
That concludes this article. If you have any questions or comments, please feel free to leave them in the comment section below. We are here to assist you.
Until then…

.png)








.png)
0 Comments