In this blog post, we discuss how to create a simple lightning screen flow in the Salesforce CRM.
Steps:
Click the Gear icon at the top right corner of the page
Click on the Setup, you will be navigated to the settings page
In the left pane, find the Quick Find search box, Enter Flow
Click on the Flows menu item under Process automation
Click the New Flow button
Select Screen flow in the popup. To know more about different types of flows refer to the link
Click Create
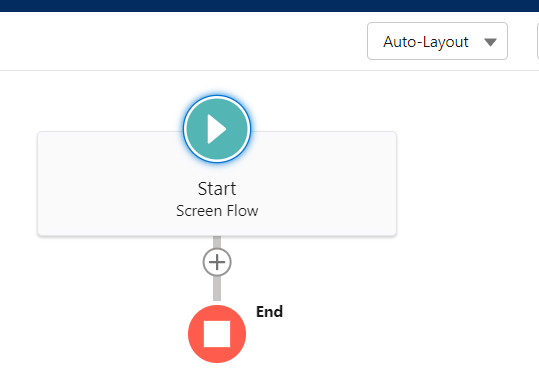
Lightning flow builder consists of two sections. The left section consists of a Toolbox with all the required elements, and the Right section is a canvas where we can drop the elements from the toolbox and design the automation.
The canvas starts with Auto-Layout by default.
Building flows and aligning elements are easier with auto-layout. Elements on the canvas are spaced, connected, and aligned automatically, saving you time and keeping your canvas neatly organized.
Freeform allows users to place the elements wherever required and design the flow accordingly.
Drag the screen element to the canvas and enter the text in the screen properties as per your requirement.
Drag input text element and drop it on the layout as shown below
Click Done button
Connect the Start element to the newly created screen element and click the Save button.
In the popup, enter the Flow label, flow API name, and Type.
Click Activate and Run the flow.
You can also Activate/Deactivate different versions of the flow from the below steps
Setup > Flows > Search for the flow
Click the Down Arrow button at the right side of a flow record
Select View Details and Versions
Notice all the versions of the Flow
Click Activate for the required version
In this post, we learned how to create a simple flow in the Salesforce lightning flow builder.
If any issues or other queries, please post them in the comments section below.
You may like these
How to auto-populate flows in Salesforce guided action list component


.png)
0 Comments